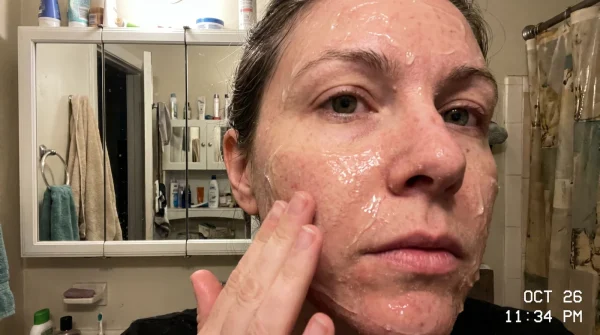
Sitting at the dressing table, you hear the soft clink of glass bottles as the cold morning light hits the mirror. You twist open the liquid concealer, the wand making that familiar, satisfying pop. It is a quiet ritual, one you have likely performed thousands of times over the years, relying on the same steady strokes to prepare your face for the day ahead.
You have undoubtedly seen the tutorials. A cheerful twenty-something paints a heavy, opaque triangle beneath her eye, blending it out with a damp sponge to look perfectly airbrushed. Naturally, you try to replicate this exact geometry, hoping for that promised bright-eyed illusion. But by midday, what looked luminous on a small screen has betrayed by midday creasing in the harsh fluorescent glare of the supermarket aisle.
The skin beneath your eyes is remarkably delicate, functioning much like fine silk draping over a curved surface. When you weigh it down with thick, wet layers of pigment in a massive triangular sweep, the fabric of your skin folds rather than flows. The heavy liquid catches in every microscopic crease, gathering in the fine lines and ironically magnifying the very texture you were hoping to disguise.
It is a frustrating cycle of applying, setting, and regretting a few hours later. But the problem is not your skin, and it certainly is not your age. The fault lies entirely in applying a heavy-handed, youthful blueprint to a face that requires an entirely different approach to light, shadow, and structural placement.
Why the Triangle Drags You Down
The standard triangle technique was initially designed for stage lighting and high-definition ring lights, meant to project absolute flatness over heavy contours. It relies on burying the skin under an opaque, heavily powdered mask. However, mature skin possesses a beautiful, nuanced topography that wholly rejects this kind of aggressive spackle.
Think of your liquid concealer not as a thick masonry paint meant to cover a wall, but as a strategic light reflector. By abandoning the massive inverted triangle, you immediately stop dragging the visual weight of your face downwards toward your jawline. The heavy block of pale pigment underneath the eye physically draws the viewer’s gaze down, creating an illusion of drooping.
The true objective for skin over fifty is not blanket coverage at all; it is an upward lift. When you redirect that pigment to just two precise anchor points, you instantly contradict the standard influencer manual. You achieve a lightness that breathes with your expressions rather than cracking against them.
Consider Eleanor, a 54-year-old session makeup artist who spent decades working on British television sets. She watched countless morning presenters struggle with mid-afternoon creasing. One cold afternoon in a BBC studio, Eleanor stopped using the triangle entirely. She realised that the constant movement of the lower eyelid acts like a subtle accordion, crushing any product sitting directly beneath the lash line. She wiped the heavy makeup away and applied just two tiny drops: one beside the tear duct, and one sweeping up from the outer corner towards the temple. The presenter looked instantly rested, her face drawn upwards, the fine lines left completely bare and beautifully unaccentuated.
Tailoring the Lift to Your Skin Type
Every face handles moisture and pigment differently, and the way you approach these two anchor points should vary slightly depending on how your skin behaves throughout the day.
For the Dry Complexion: If your under-eye area feels like parchment by lunchtime, skip the matte formulas altogether. You need a liquid concealer rich in squalane or glycerin. The pigment must melt into the warmth of your skin, rather than sitting stubbornly on top of it. Use the warmth of your ring finger to press the product in, rather than a brush.
For the Deeply Hollowed: When volume loss creates a distinct, structural shadow near the bridge of the nose, avoid applying a highly reflective lighter concealer directly into the deepest part of the hollow. Doing so can make the hollow look grey. Instead, place your inner-corner dot just slightly above the shadow line to pull the hollow forward visually.
For the Prone-to-Puffiness: Heavy liquid concealer layered on a raised surface only makes it look larger and more pronounced. Keep your outer-corner sweep razor-thin, pulling the eye upwards to distract from the swelling beneath. Avoid placing any product directly on the puffy area itself.
The Two-Point Facelift
This minimalist technique demands restraint. You are moving away from the instinct to cover everything, shifting instead towards placing light purely where it lifts, rather than where it hides.
To execute this properly, you must gather your tactical toolkit elements before starting.
- One hydrating liquid concealer, ideally just half a shade lighter than your natural skin tone.
- A small, fluffy eyeshadow blending brush (strictly avoid dense, flat concealer brushes).
- A damp micro-sponge for seamless edges.
- A hydrating setting spray to bind the makeup, replacing heavy baking powder entirely.
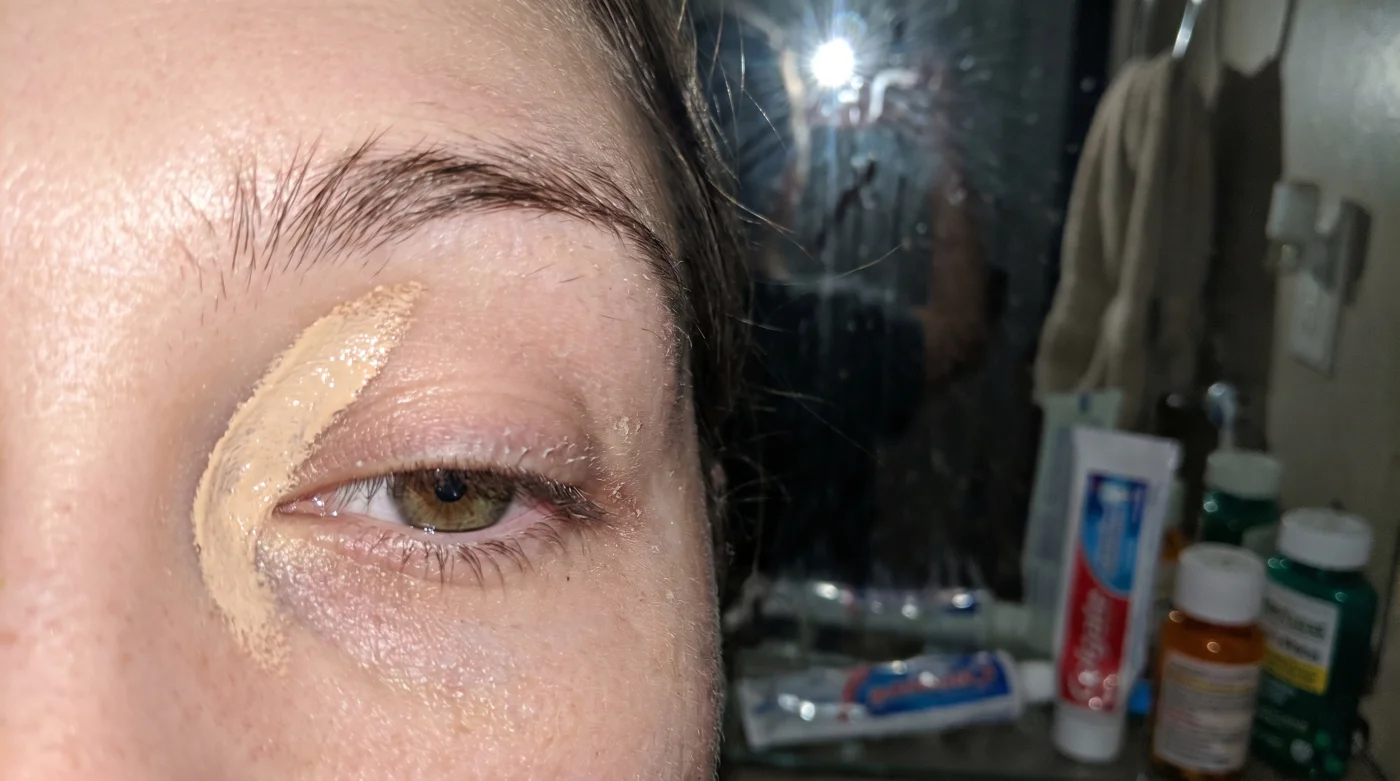
Wipe the liquid concealer wand on the rim of the tube until it is almost entirely dry. Place one tiny dot at the very inner hollow of your eye, near the bridge of the nose. Place a second, slightly elongated dash at the outer corner of your eye, angling it sharply upwards toward the tail of your eyebrow. Leave the space entirely bare under the pupil. Using the fluffy brush, tap the inner dot gently until it diffuses into the shadow. Then, sweep the outer dash upwards, blending it weightlessly into your upper cheekbone.
Embracing the Bare Space
Leaving a significant portion of your delicate under-eye skin completely untouched by makeup feels entirely counterintuitive at first. You might initially panic, reaching for the wand to fill in the gaps.
We are incredibly conditioned to fear our own texture, taught to view every fine line or shadow as a failing that must be eradicated with a thick layer of beige pigment. But bare skin reflects genuine vitality, allowing the natural warmth of the person behind the makeup to register. A few visible fine lines look infinitely better than a smooth, heavily caked mask of product.
When you master this delicate, two-point placement, you free yourself from the anxious mirror-checks in the car park or the office toilets. You are no longer managing a crumbling facade or worrying about whether your makeup has settled into a roadmap of creases.
Instead, you walk through your day with a lightness that feels entirely yours. You project a lifted, brightened gaze that speaks to experience, rather than desperately attempting to hide it. It is the ultimate act of aesthetic confidence.
The most profound makeup adjustments do not require adding more product; they require the courage to leave the skin alone where it needs to breathe.
| Key Point | Detail | Added Value for the Reader |
|---|---|---|
| The Old Triangle | Heavy, opaque layering extending under the entire eye area. | Highlights the exact cause of your mid-day makeup fatigue and creasing. |
| Inner Corner Dot | Targeted brightness placed strictly at the deepest point of shadow. | Neutralises darkness without adding any heavy texture to the lower lid. |
| Outer Upward Sweep | A fine line of pigment blended upwards toward the temple. | Creates an instant, weightless visual lift for the entire face. |
Frequently Asked Questions
Should I still use powder to set this technique?
Skip heavy baking entirely. A microscopic dusting of finely milled translucent powder applied only on the inner corner with a fluffy brush is enough. The bare area requires absolutely zero setting.What if my dark circles extend across the whole under-eye?
Use a peach-toned colour corrector sparingly before your concealer. Tap it strictly onto the blue or purple shadows with your ring finger, keeping the layer incredibly thin.Can I use a sponge instead of a fluffy brush?
You certainly can, but a damp micro-sponge tends to absorb liquid concealer and can spread it too widely. A fluffy brush gives a much more precise, airbrushed watercolour finish.Does this work with stick or pot concealers?
Liquid concealers are infinitely better for this technique if you are over 50. They contain more hydrating solvents that flex and move with your skin, whereas pots tend to be heavily waxed and rigid.How do I stop my mascara smudging into the bare skin?
Ensure your morning eye cream is fully absorbed before applying any makeup. Opt for a tubing mascara, which wraps the lashes in polymers and resists oil-based smudging entirely.